Hashicorp Terraform is an open-source IaC (Infrastructure-as-Code) tool for provisioning and managing cloud infrastructure. It codifies infrastructure in configuration files that describe the desired state for your topology. Terraform enables the management of any infrastructure – such as public clouds, private clouds, and SaaS services – by using Terraform providers.

The good thing about Terraform is the structuring of a main file in which establish the guidelines for the creation of the infrastructure, in addition to sharing the code by github;
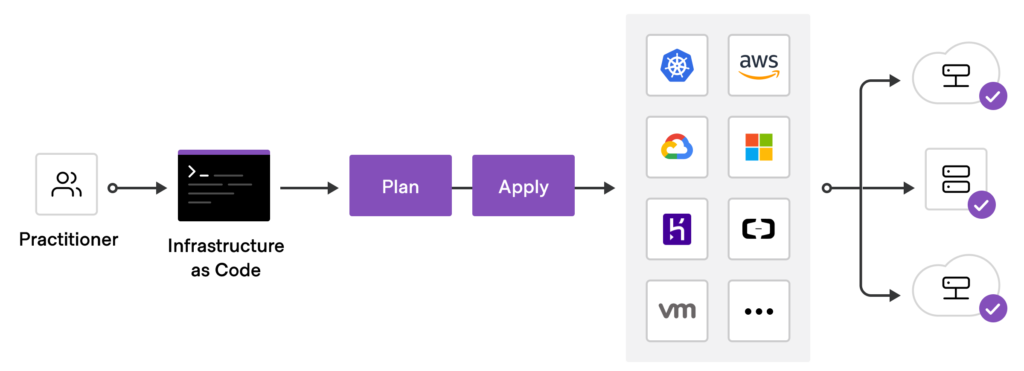
Now, as we can use it, the main workflow of Terraform consists of three stages:
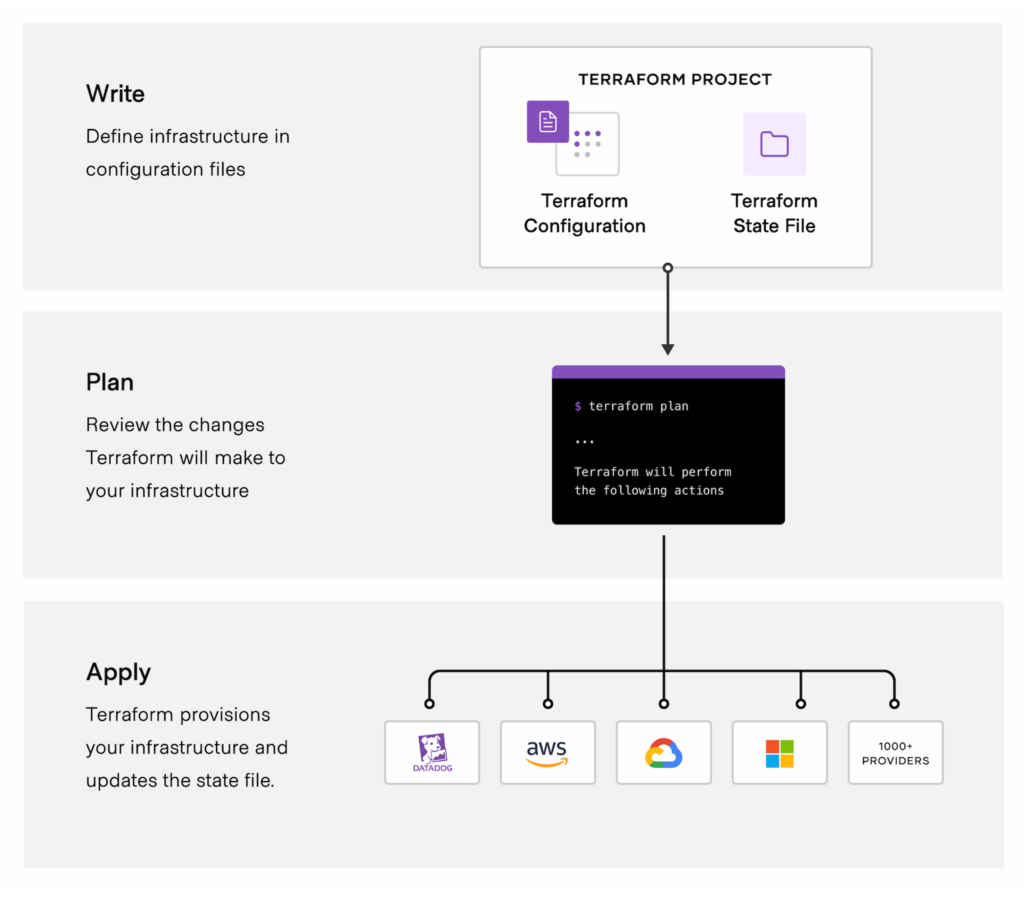
Hashicorp Configuration language (HCL)
- HCL is a toolkit for creating structured configuration languages that are both human and machine-friendly, for use with command-line tools.
- Although intended to be generally useful, it is primarily targeted towards devops tools, servers, etc.
- If you want to know more about it, visit the next link
Terraform providers for Azure infrastructure
There are several Terraform providers that enable the management of Azure infrastructure:
- AzureRM: Manage stable Azure resources and functionality such as virtual machines, storage accounts, and networking interfaces.
- AzureAD: Manage Azure Active directory resources such as groups, users, service principals, and applications.
- AzureDevops: Manage Azure DevOps resources such as agents, repositories, projects, pipelines, and queries.
- AzAPI: Manage Azure resources and functionality using the Azure Resource Manager APIs directly. This provider compliments the AzureRM provider by enabling the management of Azure resources that aren’t released. For more information about the AzAPI provider, see Terraform AzAPI provider.
- Azure Stack: Manage Azure Stack resources such as virtual machines, DNS, VNet, and storage.
How to Create a Virtual Machine in Azure with Terraform
The first step we going to do is login to Azure Portal with PowerShell or Windows CLI,
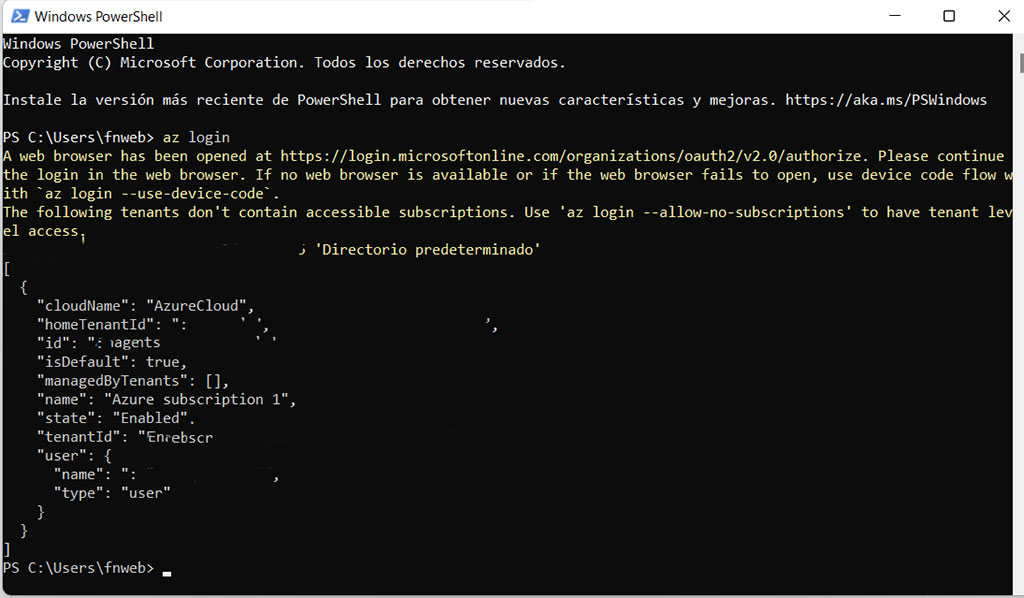
It’s important to note the subscription_id and tenantID, we will use it later.
Next step, create a folder where contain the configuration files necessary to deploy terraform and copy the files from the following repository link
Open the terraform.tfvars file, use Visual Studio Code to modify the file;
subscription_id = " "
tenant_id = " "
machine_size = "Standard_F2"
machine_hostname = "myserver"
machine_admin_username  = "adminuser"
machine_admin_password  = "S3cUr3P@ssw0rd"
tags = {
"state" = "active"
"environment" = "production"
}
Change subscription_id and tenantID, change the size of the machine, hostname, username and password,
The provider.tf file establish the provider with which we are going to work;
provider "azurerm" {
features {}
subscription_id = var.subscription_id
tenant_id = var.tenant_id
}
The groups.tf file define the name to our work group and where it will be located;
resource "azurerm_resource_group" "rg" {
name     = "myresources"
location = "CentralUS"
}
The network.tf file contains the network with which we are going to work,
resource "azurerm_virtual_network" "vnetwork" {
name  = "mynetwork"
address_space = ["10.0.0.0/16"]
location = azurerm_resource_group.rg.location
resource_group_name = azurerm_resource_group.rg.name
}

resource "azurerm_subnet" "subnet" {
name = "internal"
resource_group_name  = azurerm_resource_group.rg.name
virtual_network_name = azurerm_virtual_network.vnetwork.name
address_prefixes = ["10.0.2.0/24"]
}

resource "azurerm_public_ip" "publicip" {
name                = "publicip"
resource_group_name = azurerm_resource_group.rg.name
location            = azurerm_resource_group.rg.location
allocation_method   = "Static"
tags = var.tags
}

resource "azurerm_network_interface" "nic" {
name = "mi-nic"
location = azurerm_resource_group.rg.location

resource_group_name = azurerm_resource_group.rg.name
ip_configuration {
name = "internal"
subnet_id  = azurerm_subnet.subnet.id
private_ip_address_allocation = "Dynamic"
public_ip_address_id = azurerm_public_ip.publicip.id
}

}
The disk.tf file define the disk size of the virtual machine in addition to the read permissions of the workgroup;
resource "azurerm_managed_disk" "disk" {
name                 = "${azurerm_windows_virtual_machine.vm.name}-disk1"
location             = azurerm_resource_group.rg.location
resource_group_name  = azurerm_resource_group.rg.name
storage_account_type = "Standard_LRS"
create_option        = "Empty"
disk_size_gb         = 120
tags = var.tags
}

resource "azurerm_virtual_machine_data_disk_attachment" "diskattach" {
managed_disk_id    = azurerm_managed_disk.disk.id
virtual_machine_id = azurerm_windows_virtual_machine.vm.id
lun                = "10"
caching            = "ReadWrite"
}
The variable.tf file define all the variables that we are using in the configuration files;
variable "subscription_id" {
description = "Azure Subscription ID"
type = string
}

variable "tenant_id" {
description = "Azure Tenant ID"
type = string
}

variable "machine_hostname" {
description = "Virtual Machine Hostname"
type = string
}

variable "machine_size" {
description = "Virtual Machine Size"
type = string
}

variable "machine_admin_username" {
description = "Admin Windows Username"
type = string
}

variable "machine_admin_password" {
description = "Admin Windows Password"
type = string
}

variable "tags" {
description = "Resource Tags"
type = map
}
The virtualmachines.tf file allows the creation of the virtual machine based on the established variables, the important thing is that we have to take into account the image to use and version;
resource "azurerm_windows_virtual_machine" "vm" {
name                = var.machine_hostname
resource_group_name = azurerm_resource_group.rg.name
location            = azurerm_resource_group.rg.location
size                = var.machine_size
admin_username      = var.machine_admin_username
admin_password      = var.machine_admin_password

network_interface_ids = [
azurerm_network_interface.nic.id,
]

os_disk {
caching              = "ReadWrite"
storage_account_type = "Standard_LRS"

}

source_image_reference {
publisher = "MicrosoftWindowsServer"
offer     = "WindowsServer"
sku       = "2016-Datacenter"
version   = "latest"
}

tags = var.tags
}
Finally the outputs.tf file will provide us the information of the public ip so we can be able to connect to the virtual machine;
output "public_ip" {
description = "Public IP"
value = azurerm_public_ip.publicip.*.ip_address
}
Having all the configuration done, let’s proceed to start Terraform, do not worry if you feel lost, now we will explain how you are going to continue;
Locate the address of the folder where we host the configuration files;
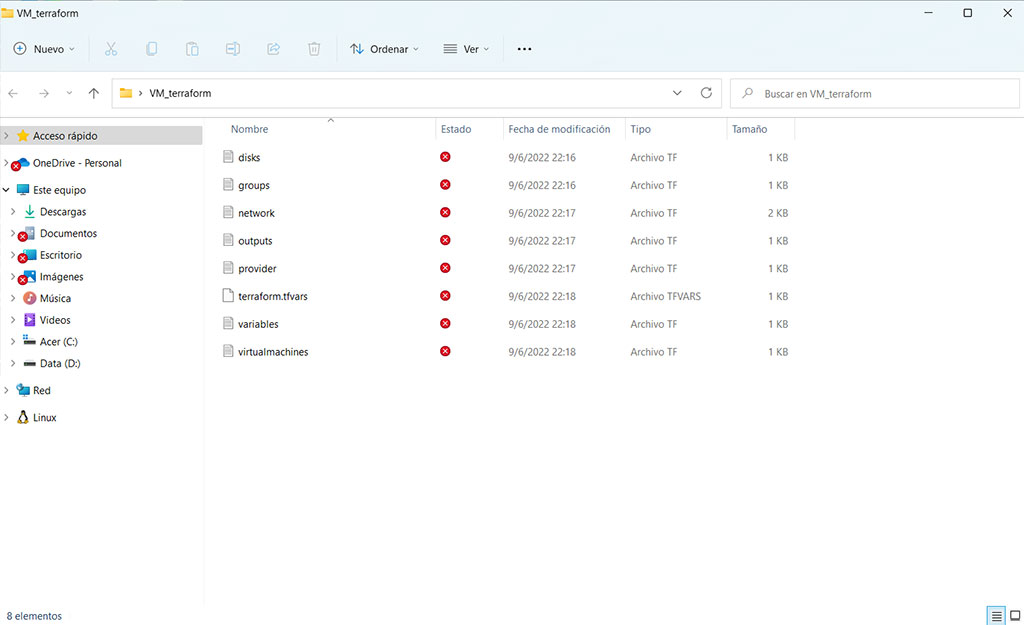
Open the CLI and start terraform with the next command,
terraform init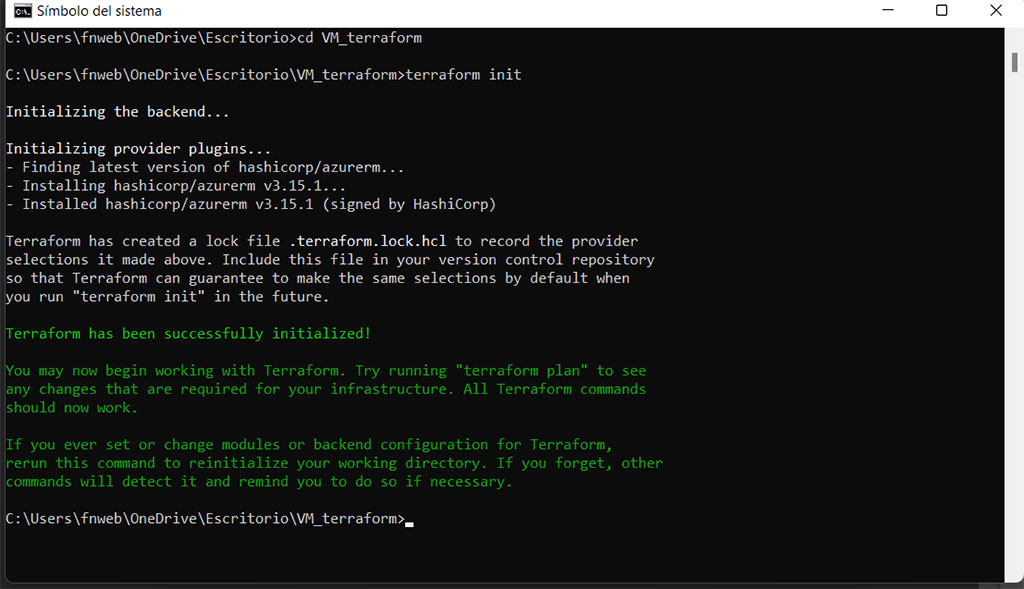
Terraform is going to be installed in that folder and it is going to configure the files that it needs to operate;
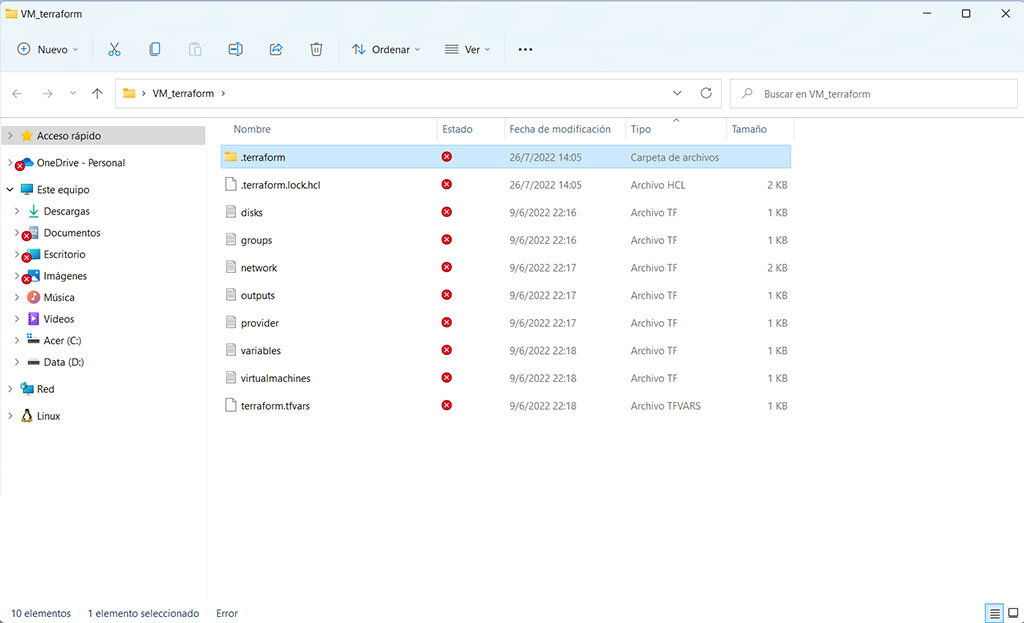
Our next step is to execute the plan command, terraform will create a JSON file that will contain all the instructions established;
terraform plan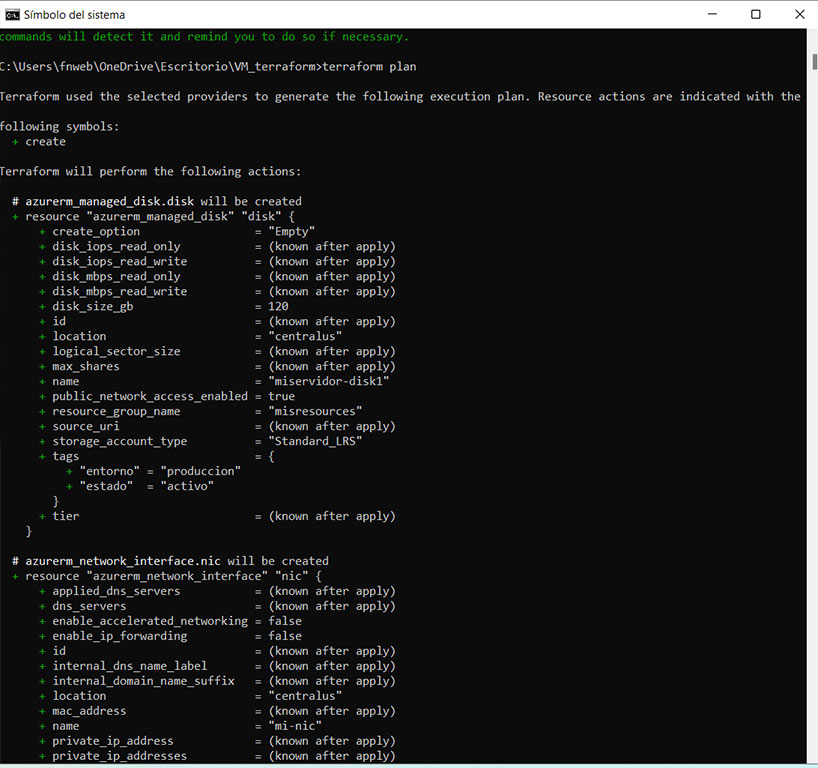
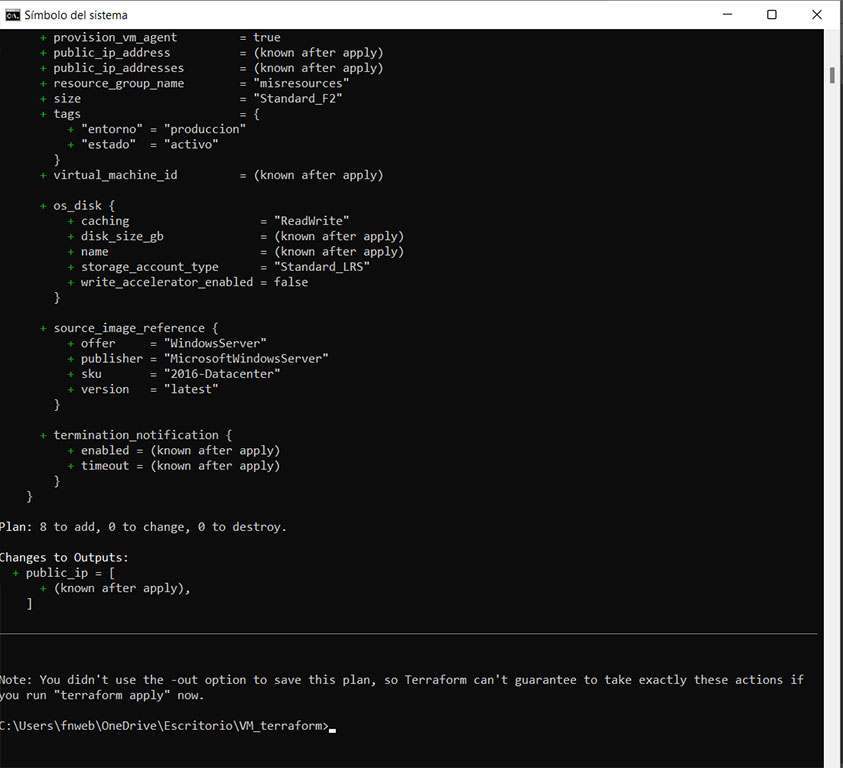
Once the plan command is finished we can apply the changes;
terraform apply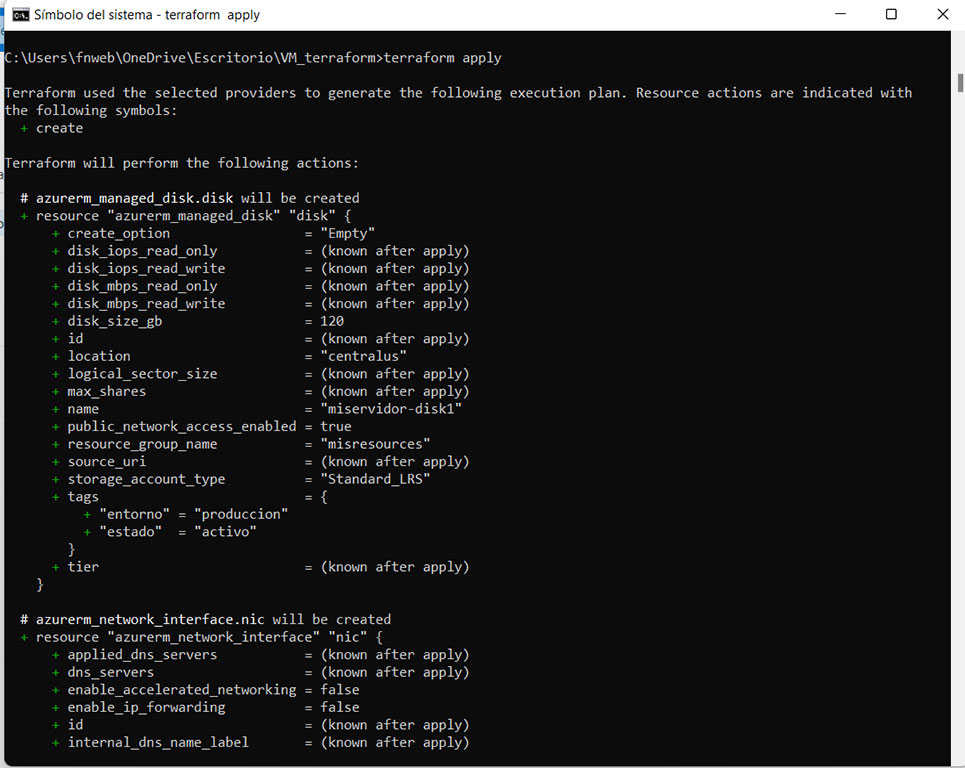
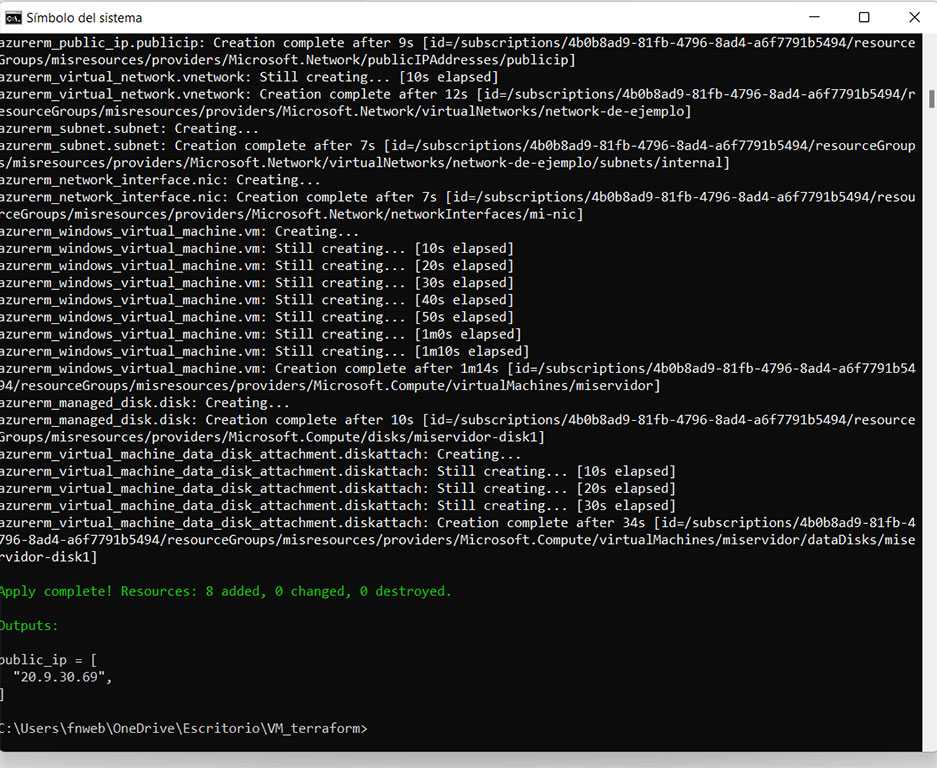
You can see in the Azure platform the resources created by teraform, congratulations our virtual machine is ready to be used;
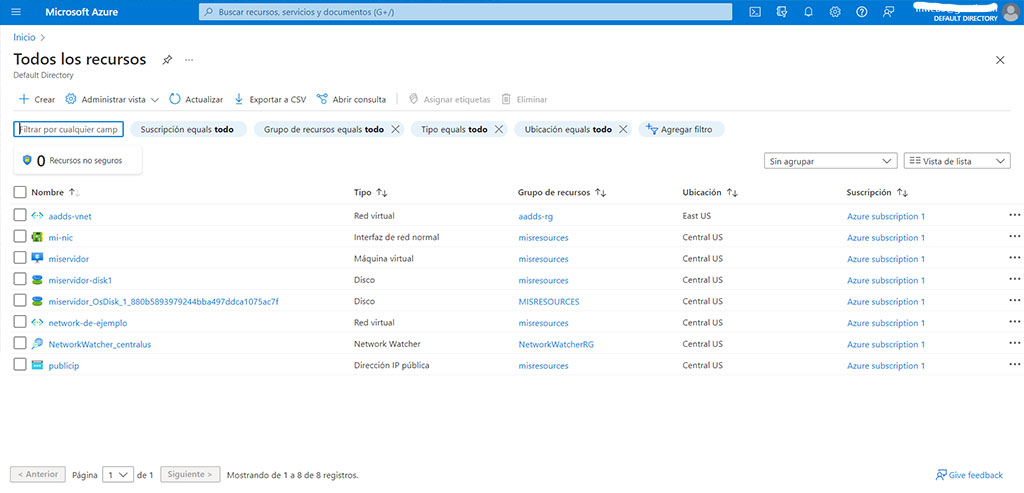
You can find the public IP address of the virtual marchine in the output file, you can connect via remote desktop with the following command:
mstsc /v: 20.9.30.69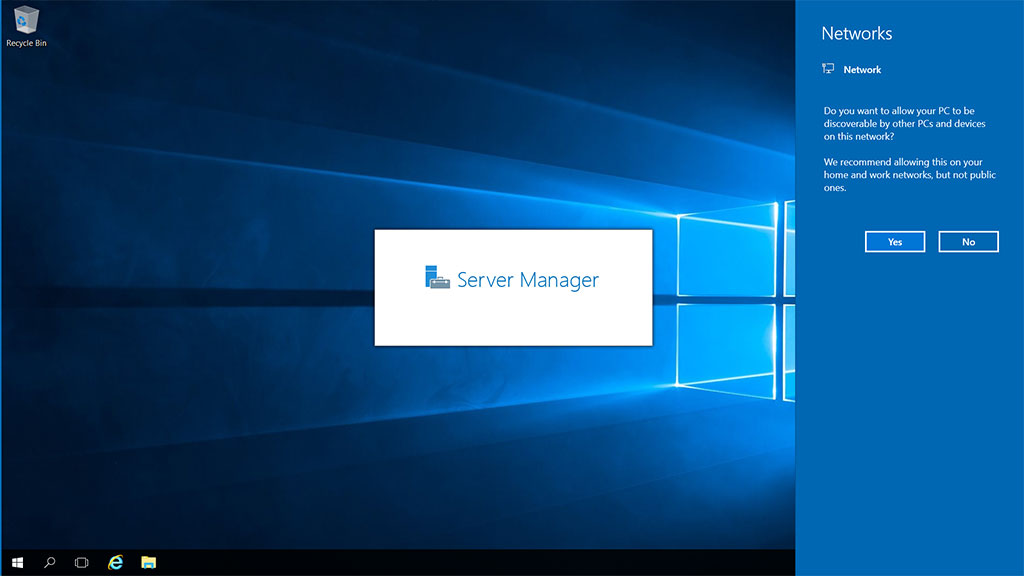
In the case we don’t need the virtual machine anymore we can destroy the deployed resources with the following command:
terraform destroy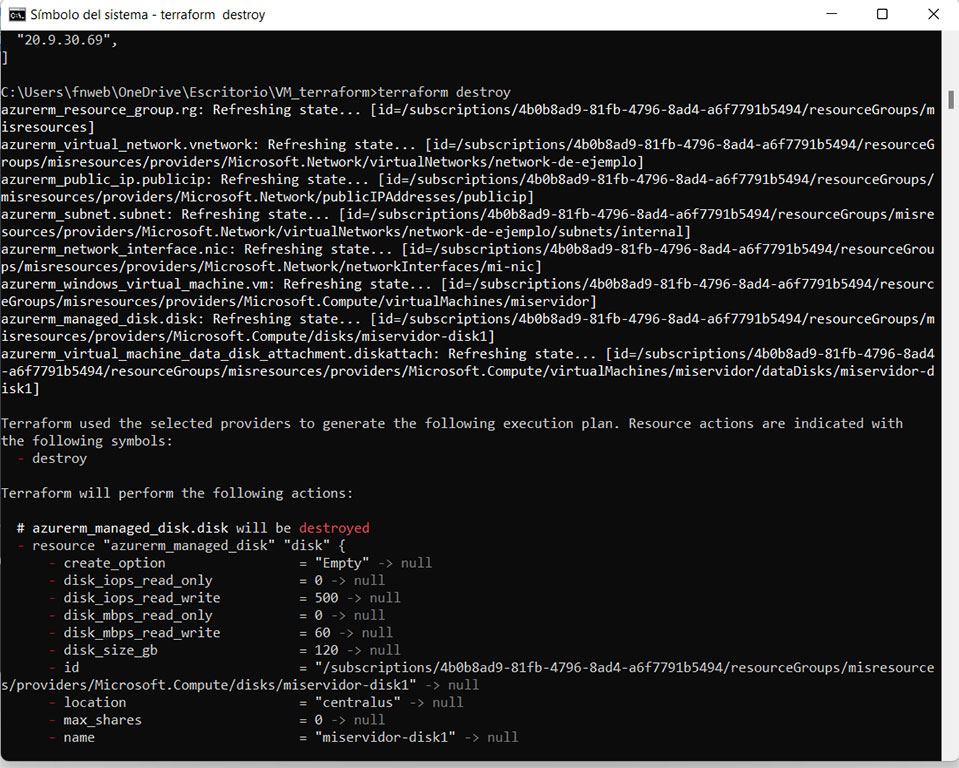
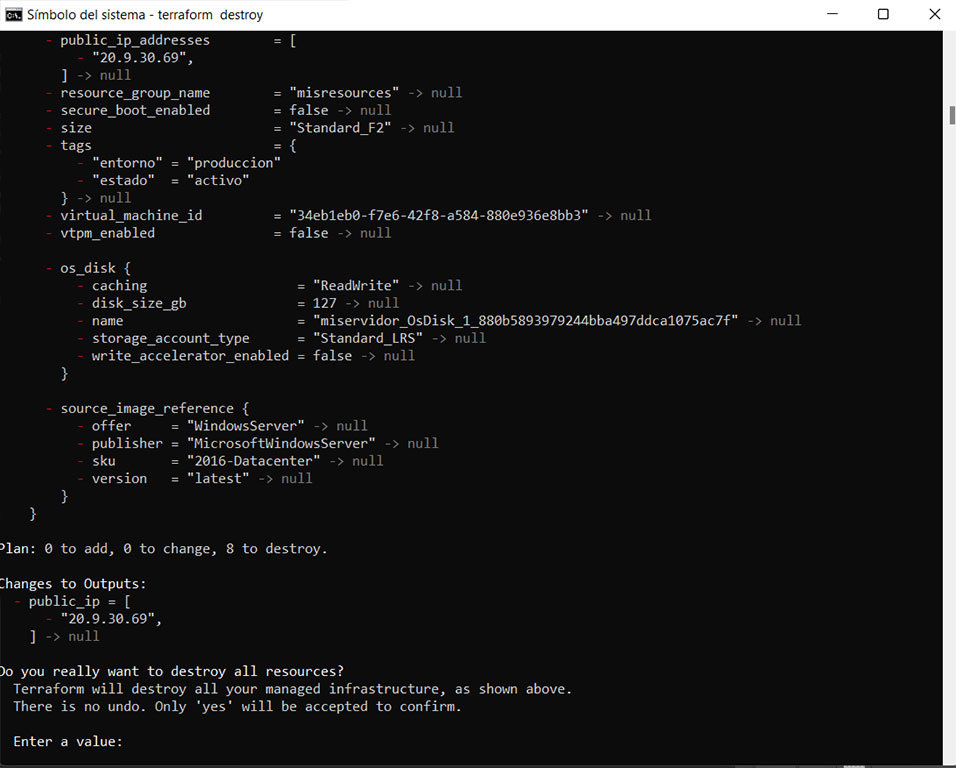
Enter a value “yes” and it will eliminate all resources;
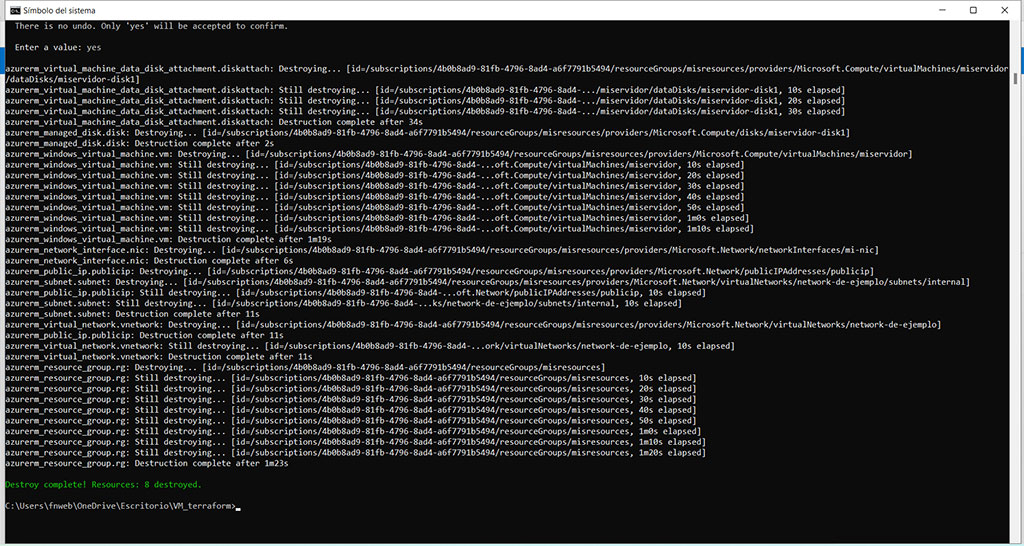
Congratulations you made it this far, I hope you have learn more about terraform.
Contact us for more information or visit our blog.


