Today we’re going to show you how to create a virtual machine in Azure with PowerShell. This information will be useful if you are starting with Azure cloud platform and want to practice to deploy virtual machine services, as a requirement for this post you must have an Azure account with an active subscription and Azure CLI tool, if you don’t have an Azure user account and want to learn how to create it, check this post link.
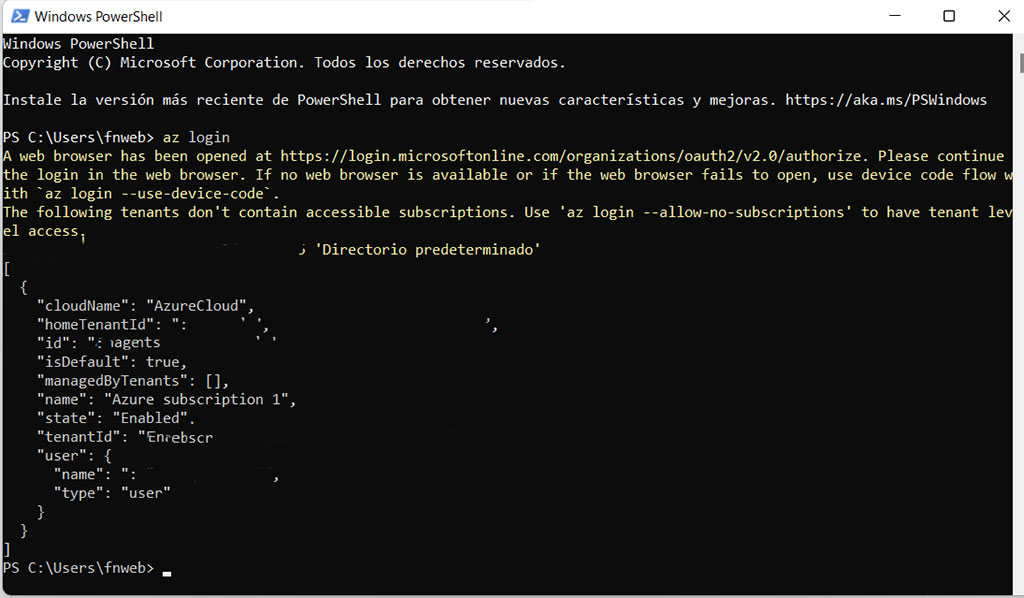
The first step, we are going to login in the Azure account using PowerShell with the following command;
az loginIn the case you do not have the Azure Command-Line Interface (CLI) installed, click the following link
Create a work group, this is where we are going to host everything including our virtual machine, assign a name and the region we are going to locate it, with the following command,
az group create --location centralus --name VM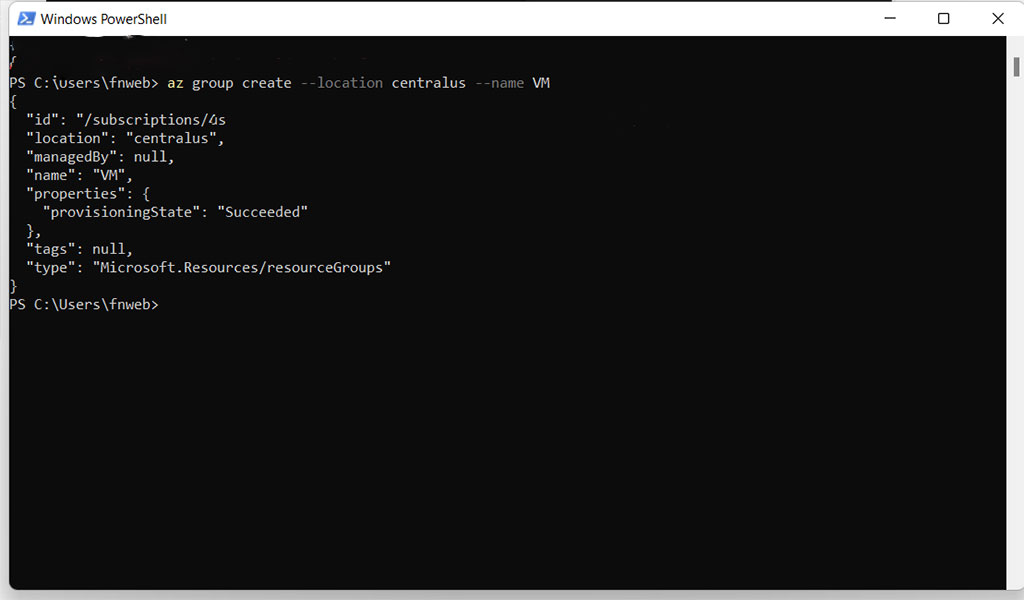
For the next step, lets create the virtual machine, we need to define the name of the resource and the administrator user, also is required a reference of a pre-established image, you can find more VM references in the Azure Marketplace;
az vm create --name VM --resource-group VM --image win2016datacenter --admin-username VM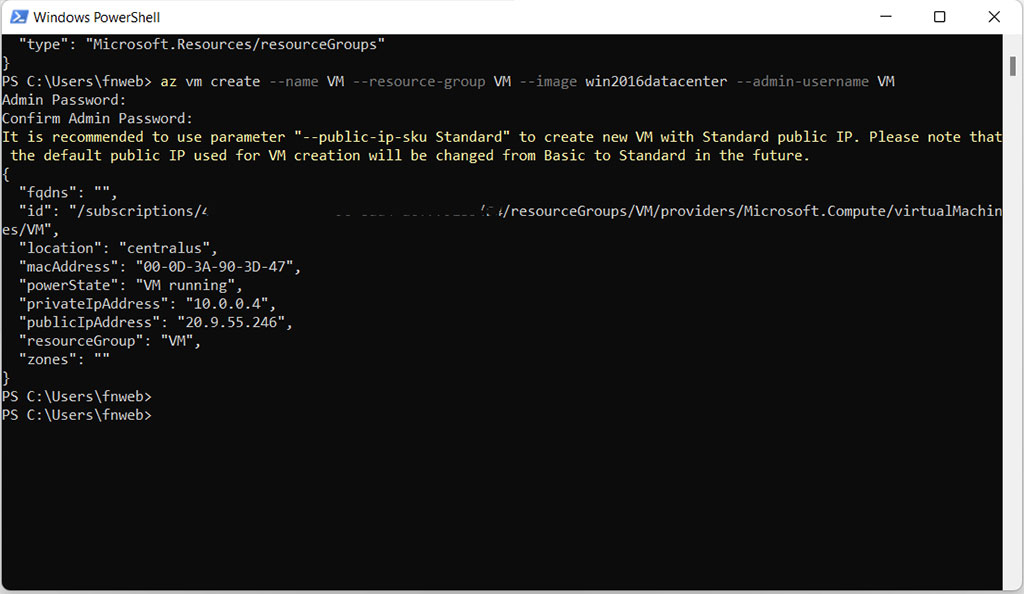
Next step add the password for the Administrator user, this password must contain at least 12 characters. The default size of the VM is Standard_DS1_v2, if everything is ok we should get the following information:
"location": "centralus", "macAddress": "00-0D-3A-90-3D-47", "powerState": "VM running", "privateIpAddress": "10.0.0.4", "publicIpAddress": "20.9.55.246", "resourceGroup": "VM", "zones": "The VM is now running in the cloud, you should see it in the list of VM resources in the Azure Portal;
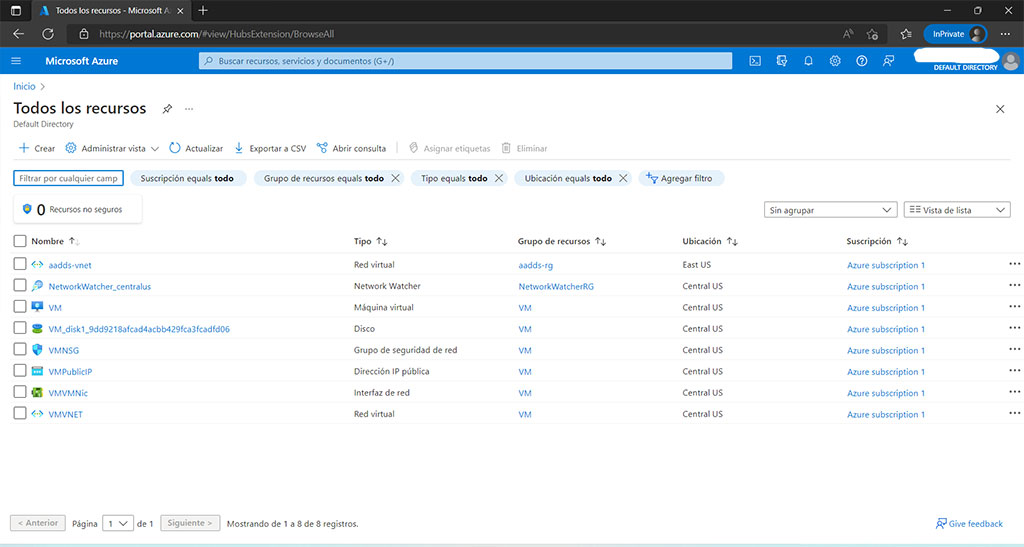
If you want to connect with the VM using remote desktop, first find the publicIpAddress in the previous step and connect using the mstsc command in Windows;
mstsc /v: 20.9.55.246Click on accept,
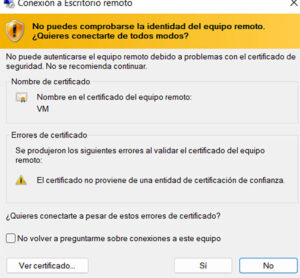
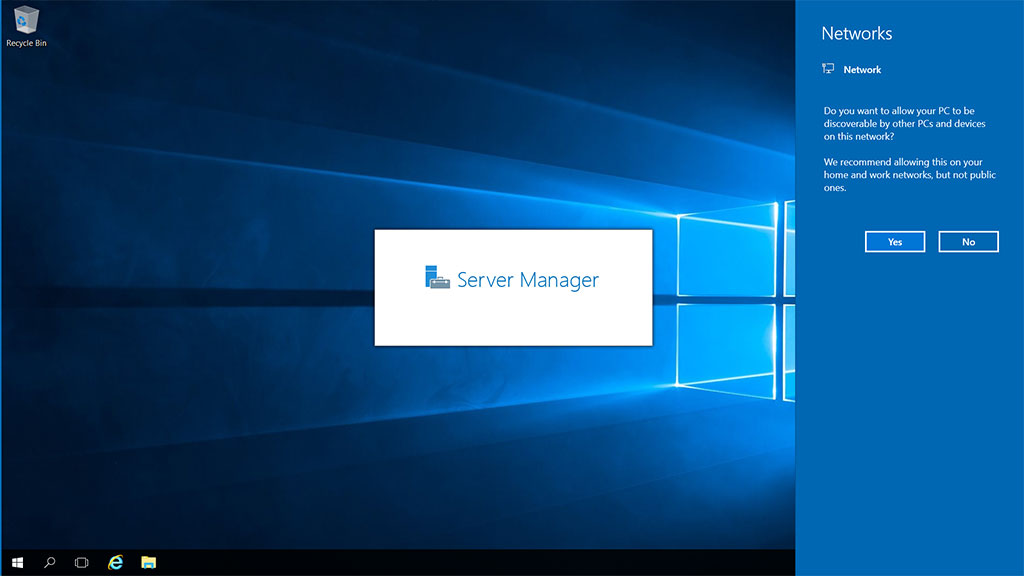
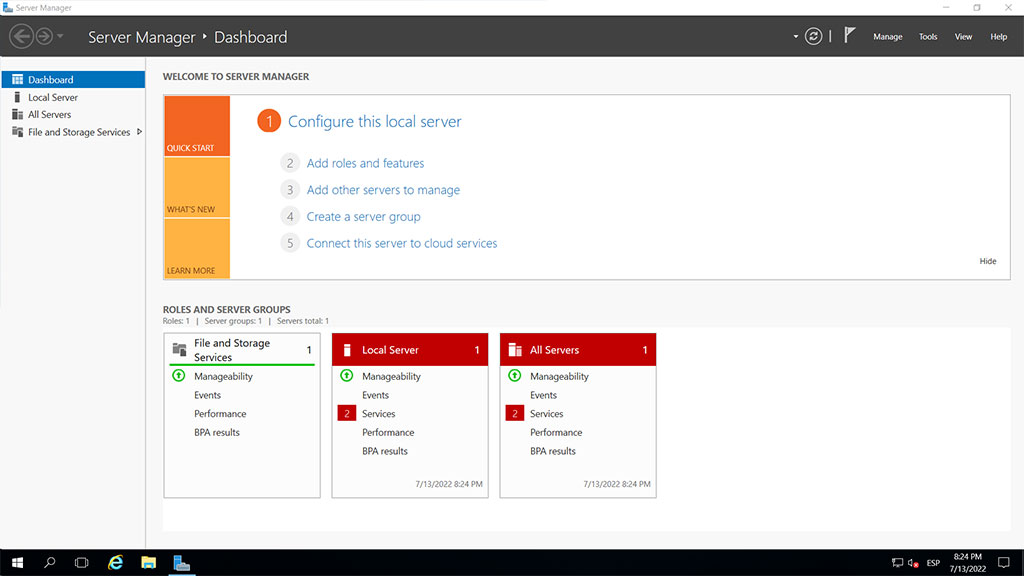
Login using the administrator user and password, and we already have our virtual machine operational and ready to use,
If you want to delete the VM, you can do it using the following command;
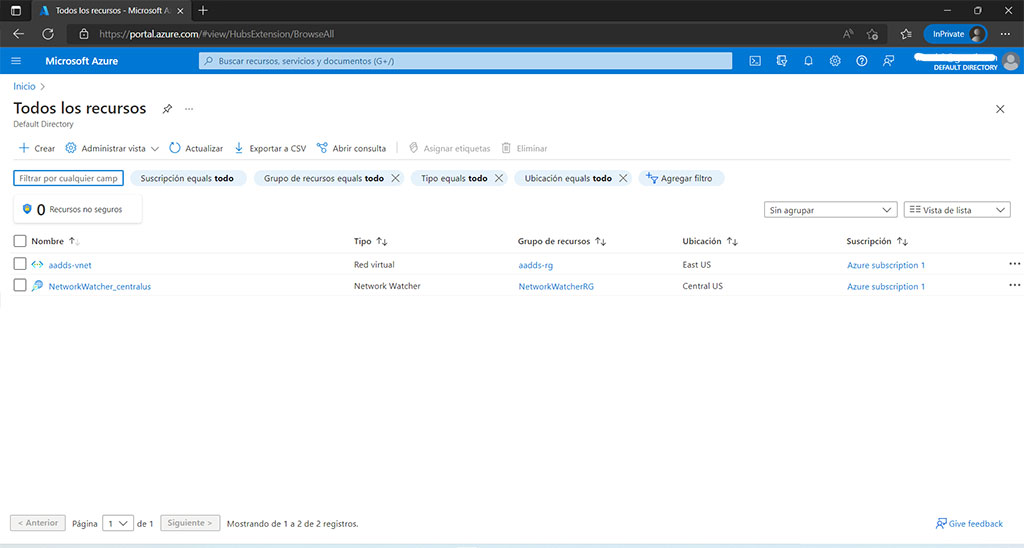
az group delete --name VMCheck the platform that the resources have been removed correctly.
Contact us for more information or visit our blog.

