¿What is Azure AD Domain Services (AD DS)?
Azure Active Directory Domain Services (Azure AD DS) provides managed domain services such as domain join, group policy, LDAP, Kerberos/NTLM authentication that is fully compatible with Windows Server Active Directory.
You consume these domain services without deploying, managing, and patching domain controllers yourself. Azure AD DS integrates with your existing Azure AD tenant.
This integration lets users sign in using their corporate credentials, and you can use existing groups and user accounts to secure access to resources.
Important Notes
- The subscription tenant should not have existing managed Azure Active Directory Domain Services (AADDS). Azure active directory supports only one Domain Service per tenant.
- The Domain Name provided as an input parameter while deployment should be verified within Azure Active Directory.
- AD Domain Services requires the chosen subnet to belong to a reserved private range. Use the AADDS subnet range within one of the following IP address ranges: 192.168.0.0/16, 172.16.0.0/12, or 10.0.0.0/8.
- Deployment takes around “45-90 minutes” to complete.
AADDS Deployment Demo
Lets create a deployment demo, we are going to create a virtual network with 1 subnet in the same region as an AADDS (Azure Active Directory Domain Services) which is attached to this subnet. The Virtual Network DNS Servers are configured to point to the AADDS DNS servers.
Network security rules are created to allow wide-open access within the virtual network, and selected ports are open to the public for operation and for debug purposes.
Is important to remember as only one AADDS can be deployed per tenant, this limitation also means that the AADDS must be in the same region as the workstations the user plans to deploy as multi-region AADDS is not yet supported.
Deploy with Terraform
Azure AD Domain Service using Terraform in Azure, we can do it quickly with the support of the hashicorp documentation,
Prerequisites:
- Azure Account, If you don’t have an Azure subscription, create a free account before you begin.
- Configure Terraform: If you haven’t already done so, configure Terraform using one of the following options.
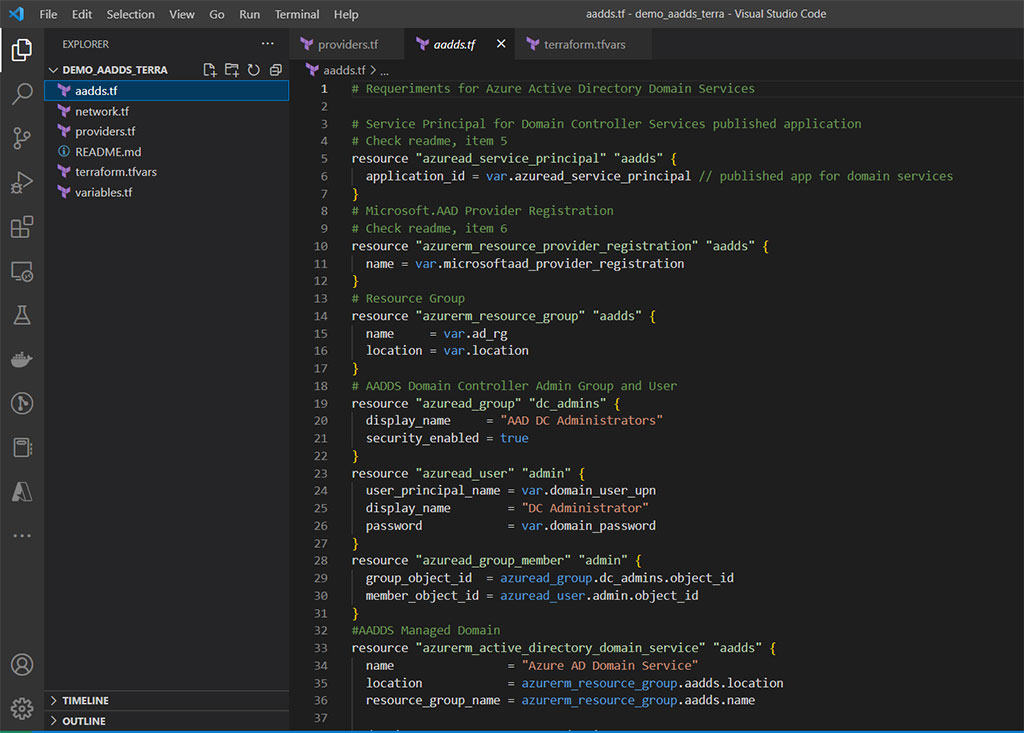
subscription_id                     = "            "
tenant_id = " "azuread_service_principal = "2565bd9d-da50-47d4-8b85-4c97f669dc36"
microsoftaad_provider_registration = "Microsoft.AAD"
ad_rg = "aadds-rg"
location = "eastus"
domain_name = "demo.test"
domain_user_upn = "admin@demo.test"
domain_password = "ChangeMe123!"
vnet_aadds = "192.168.0.0/16"
subnet_aadds = "192.168.1.0/24"
dns_servers = ["192.168.1.4","192.168.1.5"]
sku_aadds = "Standard"
tags = "Prod"
notification_email = [
"demo_user1@gmail.com",
"demo_user2@gmail.com"
]Step 2 – Open the CLI and start terraform with the next command.
terraform init
terraform validate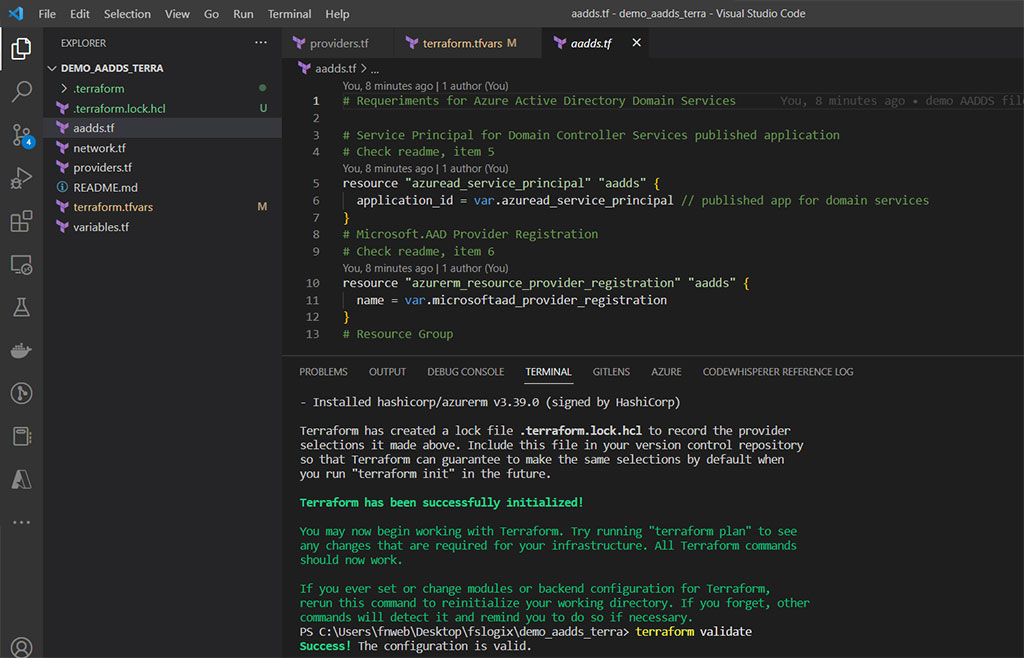
Our next step is to execute the plan command.
terraform plan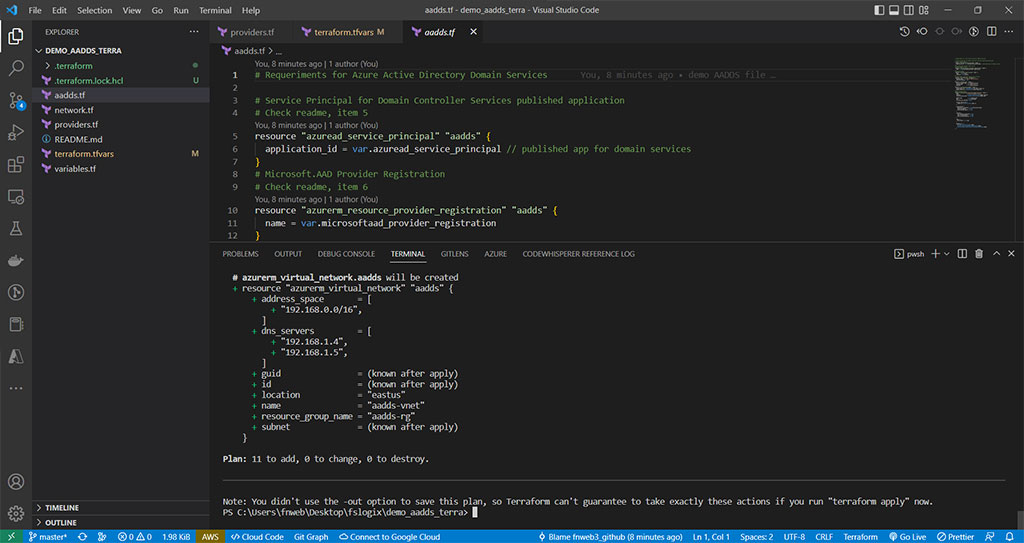
We continue and deploy the changes.
terraform apply -auto-approve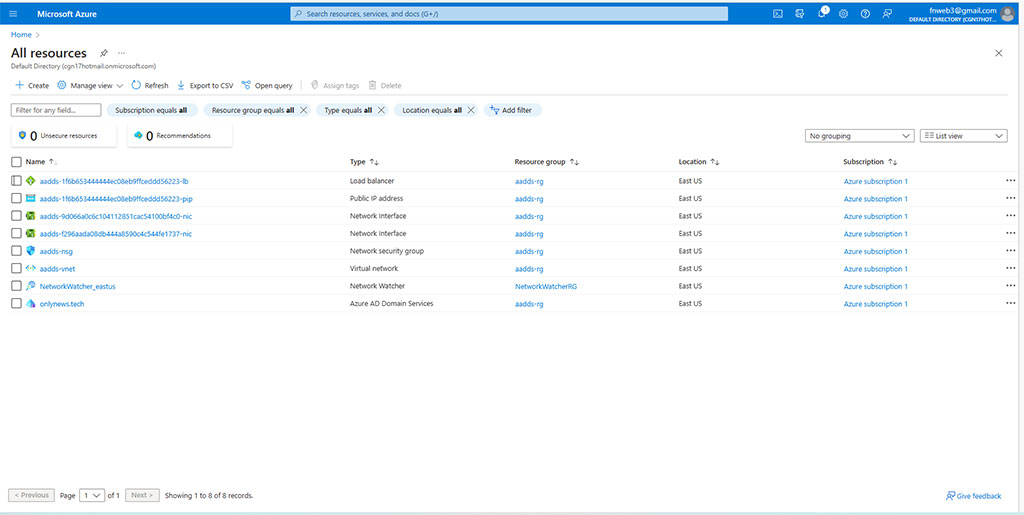
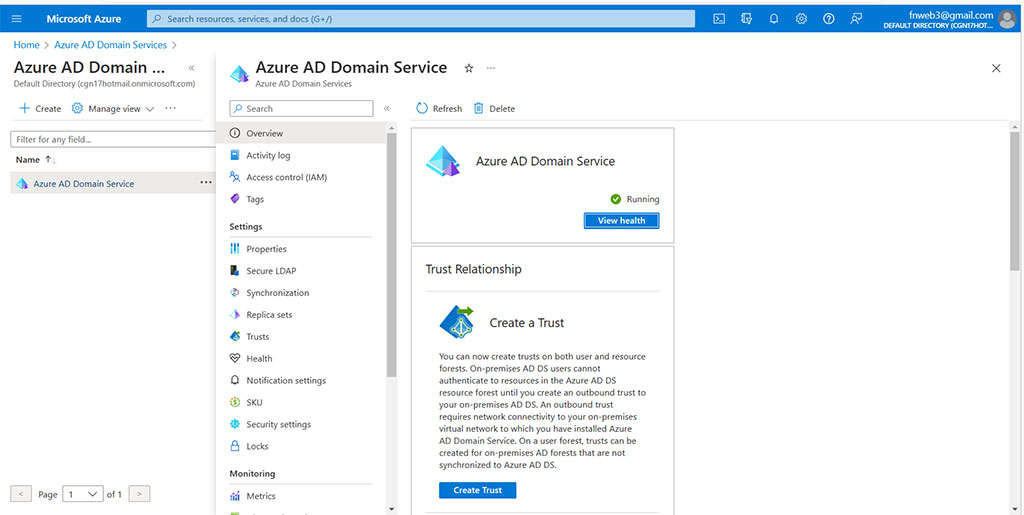
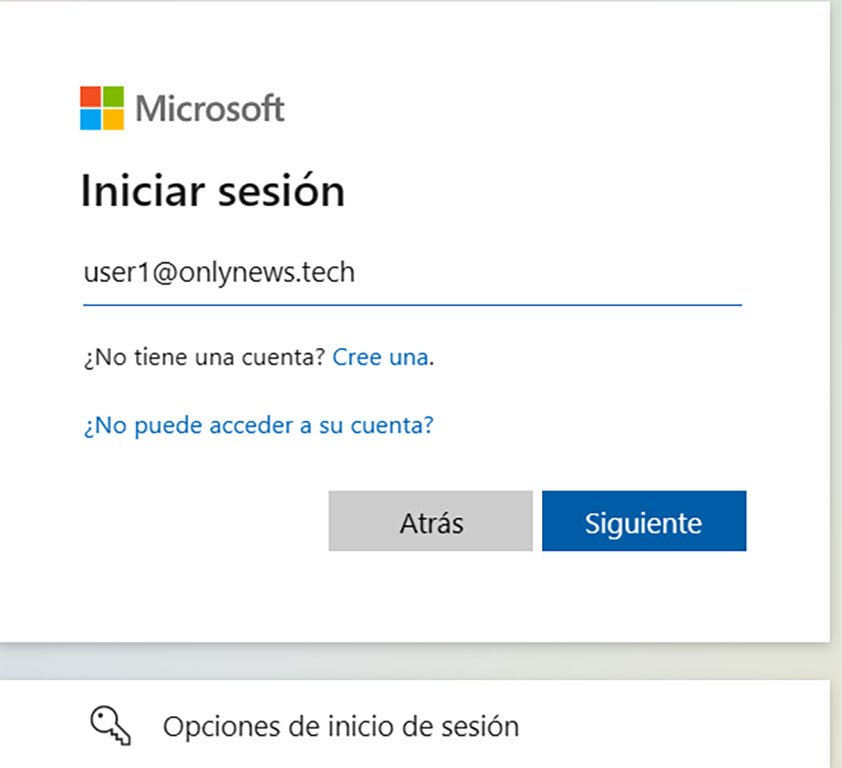
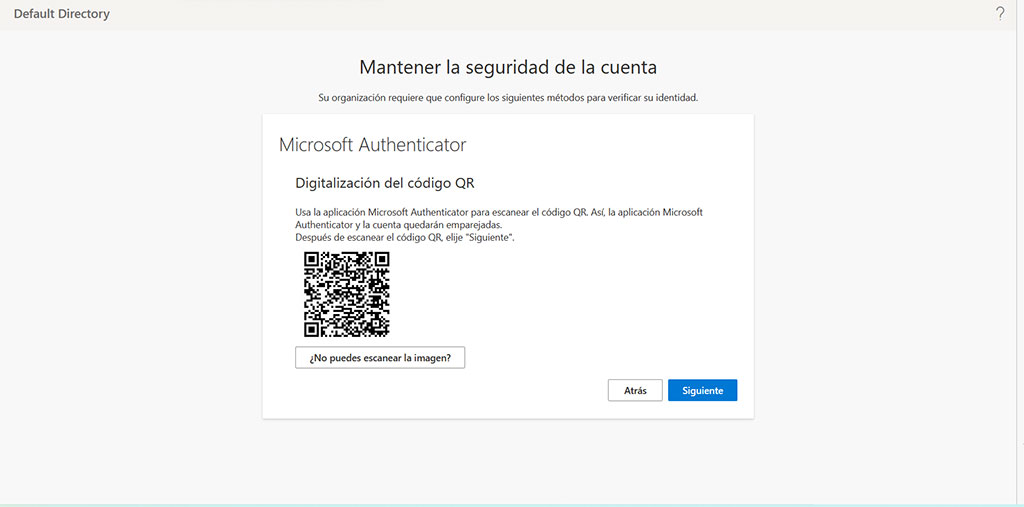
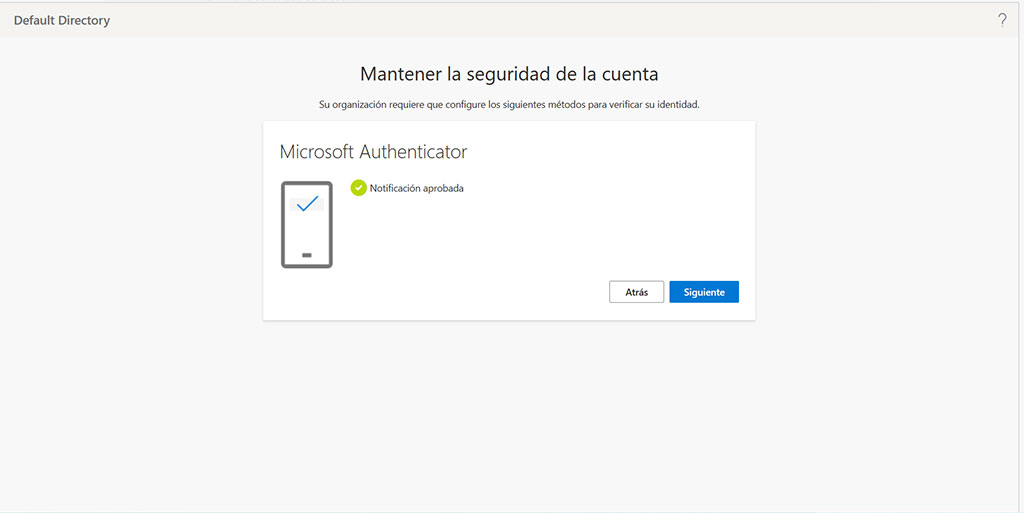
Step 4 – This will take a while about 45 – 90 min to be available, once finished let check if it works properly.

terraform destroy -auto-approveContact us for more information or visit our blog.

